Step-by-Step Guide to Creating and Launching Custom Worlds in Gazebo ROS


Gazebo is a popular robotics simulation tool that allows developers to test and validate their algorithms on virtual robots before deploying them on physical robots. One of the most important aspects of Gazebo is the ability to create custom worlds, which are simulated environments that allow users to test their robots in a variety of scenarios.
Also Read: URDF & SDF
In this blog post, we will discuss how to create and launch a custom world in Gazebo ROS.
Step 1: Create a World File
The first step in creating a custom world is to create a world file. A world file is an XML file that describes the properties of the environment, such as the terrain, lighting, and objects.
<?xml version="1.0" ?>
<sdf version="1.5">
  <world name="my_world">
    <include>
      <uri>model://ground_plane</uri>
    </include>

    <model name="my_robot">
      <pose>0 0 0 0 0 0</pose>
      <static>true</static>
      <link name="base_link">
        <inertial>
          <mass>1.0</mass>
          <inertia>
            <ixx>0.166666666667</ixx>
            <ixy>0.0</ixy>
            <ixz>0.0</ixz>
            <iyy>0.166666666667</iyy>
            <iyz>0.0</iyz>
            <izz>0.166666666667</izz>
          </inertia>
        </inertial>
        <visual name="visual">
          <geometry>
            <box>
              <size>0.5 0.5 0.5</size>
            </box>
          </geometry>
          <material>
            <script>
              <uri>file://media/materials/scripts/gazebo.material</uri>
              <name>Gazebo/Red</name>
            </script>
          </material>
        </visual>
        <collision name="collision">
          <geometry>
            <box>
              <size>0.5 0.5 0.5</size>
            </box>
          </geometry>
        </collision>
      </link>
    </model>

    <light name='sun' type='directional'>
      <cast_shadows>1</cast_shadows>
      <pose>0 0 10 0 0 0</pose>
      <diffuse>0.8 0.8 0.8 1</diffuse>
      <specular>0.2 0.2 0.2 1</specular>
      <attenuation>
        <range>1000</range>
        <constant>0.9</constant>
        <linear>0.01</linear>
        <quadratic>0.001</quadratic>
      </attenuation>
      <direction>-0.5 0.1 -0.9</direction>
    </light>
  </world>
</sdf>
This world file includes a simple ground plane and a static model of a box-shaped robot. It also includes a directional light source to provide illumination in the simulation.
Step 2: Save the World File
Once you have created the world file, save it in a directory where Gazebo can access it. It is recommended to save the world file in the worlds folder of your ROS package. If you do not have a ROS package, create one using the catkin_create_pkg command.
Step 3: Launch Gazebo with the Custom World
The next step is to launch Gazebo with the custom world. To do this, you need to create a launch file that loads the custom world. Here's an example launch file:
<launch>
  <arg name="world_file" default="$(find my_package)/worlds/my_world.world"/>
  <node name="gazebo" pkg="gazebo_ros" type="gazebo" args="$(arg world_file)"/>
</launch>
In this launch file, we have defined an argument world_file that specifies the path to the world file. We then launch Gazebo with the gazebo_ros package and pass the world_file argument to the gazebo node.
Step 4: Launch the Custom World Finally, to launch the custom world, run the following command:
roslaunch my_package my_launch_file.launch
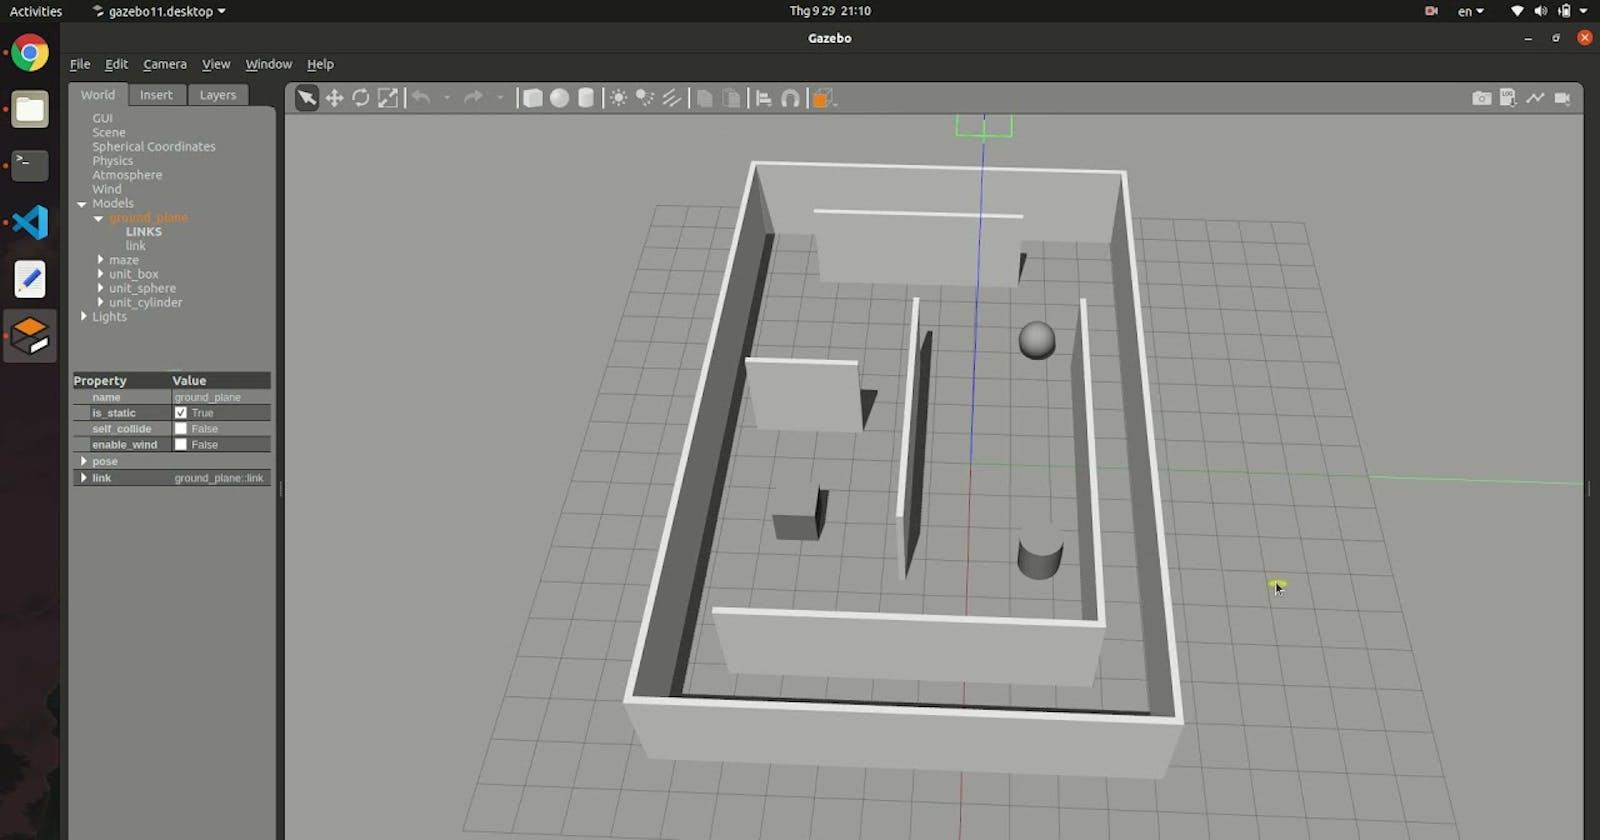
This command will launch the custom world in Gazebo. You should see the Gazebo GUI appear with your custom world loaded.
In conclusion, creating a custom world in Gazebo ROS is a simple process that can greatly enhance your robot simulations. By following these steps, you can create and launch your custom world in Gazebo and test your robots in a variety of scenarios. With Gazebo's powerful simulation capabilities, you can validate your algorithms and ensure that your robots are ready for deployment on physical robots.